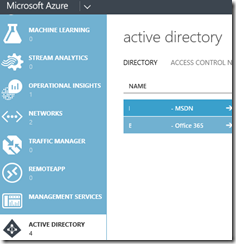
You may already Azure Active Directory which used (at least) by Office 365 to manage users and groups – either synchronized from your own On Premises AD or directly from the cloud.
Now, Microsoft has announced Azure Active Directory Domain Services to deliver a more complete AD services from the cloud – meaning you do not have anymore to deploy, configure and manage domain controllers in the cloud (using a cloud virtual machine for example).
This approach required a more complex architecture On Premises before being able to deploy a cloud domain controller.
To take advantage of this new Azure AD service, you must have a Azure tenant (or an Office 365 tenant) and enable the Azure AD DS service.
Enable Azure AD DS service
- Connect to your Azure tenant and access the Active Directory options to edit your existing directory or create a new one
- Access the Groups management option and create a new group called AAD DC Administrators – the name MUST be exactly this one – and add your administrator accounts as member
- Create an Azure Network (if you do not have already one created); this network will be used to bind with Azure AD DS service; I will not go through these steps as they are well documented everywhere

- Go back to the Active Directory section from the portal and Configure your directory
- Enable the Domain Services feature
You are ready to go and use your new Azure AD DS with your applications hosted on Azure (either VM or cloud services). You are now able to join your Azure Virtual Machine to your On Premises AD. More use cases and scenarios available here https://azure.microsoft.com/en-us/documentation/articles/active-directory-ds-overview/#scenarios-and-use-cases


